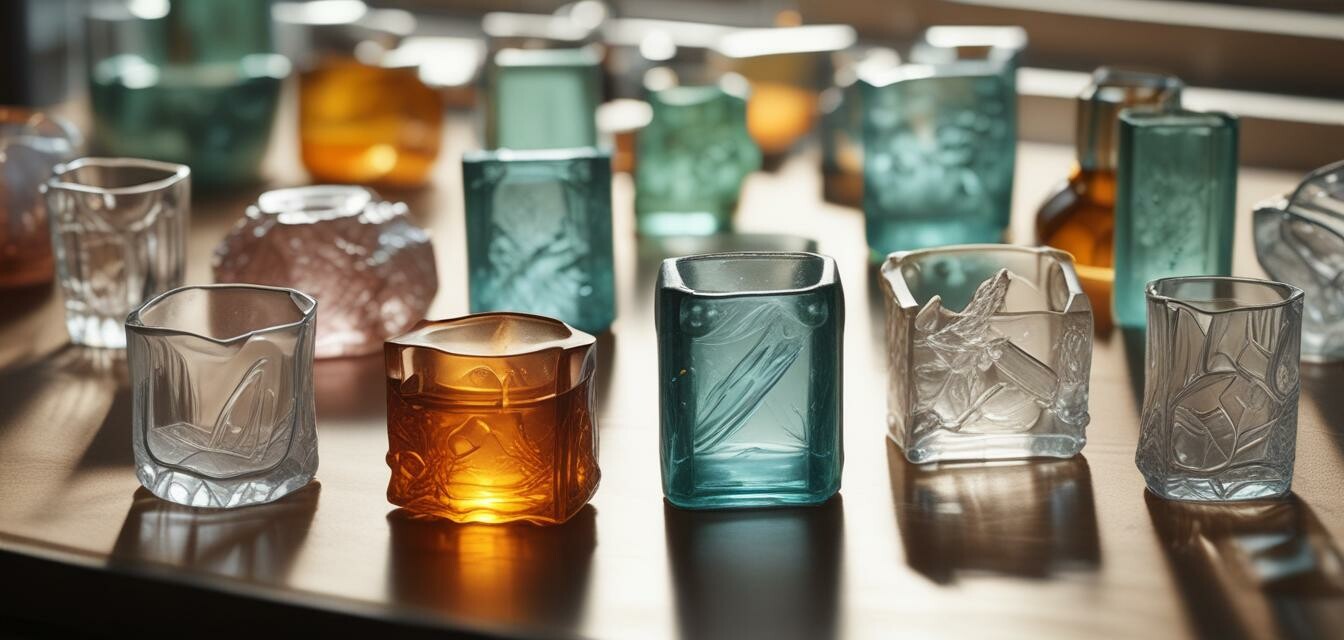
Tips for Using Molds for Functional Glass Art
Key Takeaways
- Choose the right type of mold based on your project.
- Prepare the mold properly to avoid sticking.
- Consider the glass thickness for optimal results.
- Experiment with different techniques for unique finishes.
- Clean and maintain your molds for longevity.
Creating functional glass art using molds is an exciting and rewarding venture for artists. This article takes you through practical tips that will enhance your experience in using molds. Whether you are a beginner or an experienced glass artist, these guidelines can help ensure that your projects turn out beautifully. Let’s dive into the world of glass molds!
Choosing the Right Mold
When embarking on a glass art project, the choice of mold is crucial. The type of mold you select can significantly impact the final outcome of your piece. Here’s a simple guide:
| Mold Type | Best For |
|---|---|
| Bowl Molds | Creating functional bowls for decorative or practical use. |
| Plate Molds | Designing plates that can hold food or function as art pieces. |
| Jewelry Molds | Crafting unique pendants, earrings, and rings. |
| Intricate Casting Molds | Producing detailed decorative items or complex designs. |
Preparing Your Molds
Proper preparation of your molds is important to prevent glass from sticking and ensure easy removal post-firing. Here are steps to follow:
- Clean the mold thoroughly to remove any debris or residues.
- Apply a mold-release agent to help with easy removal.
- Inspect for damage; a cracked mold can ruin your project.
Design Considerations
As you plan your design, think about the functionality of your glass art piece. Some aspects to consider include:
- The intended use of the final product.
- Aesthetic elements such as color, texture, and patterns.
- The thickness of the glass to ensure durability.
Execution: Crafting Your Art
While creating your piece, keep these tips in mind:
- Layer your glass carefully to achieve the desired thickness.
- Use compatible glass types to prevent cracking during firing.
- Experiment with different techniques such as fusing or slumping for unique effects.
For more insights on fusing techniques, check out our article on glass kilns.
Finishing Touches
After firing, your piece may need some finishing touches to enhance its functionality:
- Sand any rough edges to ensure safety.
- Polish the surface for a sleek finish.
- Consider adding surface treatments for additional protection.
Cleaning and Maintenance
To prolong the life of your molds, maintain them well:
- Clean them after each use with a gentle soap and water solution.
- Avoid using abrasive materials that could scratch the surface.
- Store them in a safe place to prevent damage.
For a deeper dive into glass materials, explore our section on glass sheets and supplies.
Conclusion
Using molds for functional glass art can elevate your craft and produce stunning results. By choosing the right molds, properly preparing them, executing your designs thoughtfully, and maintaining your tools, you will ensure your glass art projects are both beautiful and functional. Embrace creativity and enjoy the art of glass making!
Pros
- Versatility in designs and shapes.
- Ability to create unique and customized pieces.
- Enhances both artistic expression and functional use.
Cons
- Initial costs for high-quality molds.
- Requires practice to master techniques.
- Potential for waste if the process isn’t followed correctly.
Tips for Beginners
- Start with simple designs to build your confidence.
- Take notes during each project to learn from your experiences.
- Experiment with different glass types and molds to discover what works for you.

