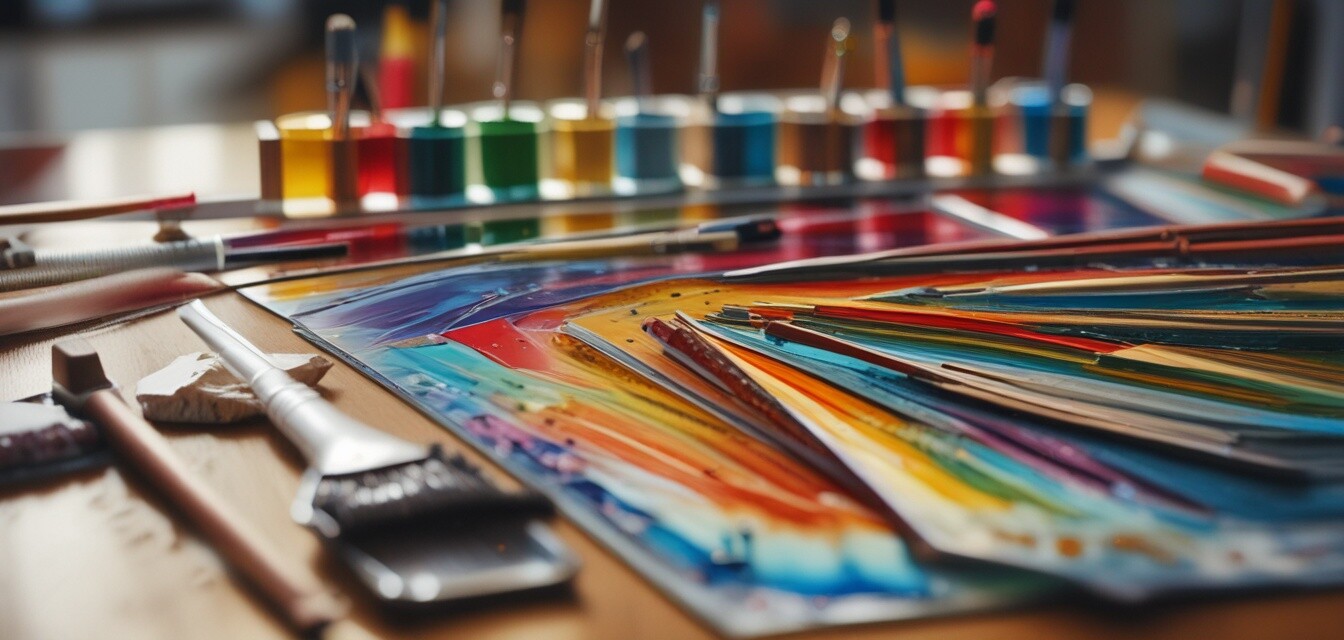
Advanced Techniques for Glass Painting
Key Takeaways
- Explore various advanced glass painting techniques to enhance your artwork.
- Understand the essential tools and materials required for glass painting.
- Learn about different applications and methods for stunning effects in glass art.
- Discover the importance of preparation and safety in glass painting.
Glass painting is a captivating art form that allows artists to create stunning displays of color and light. This article delves into advanced techniques for glass painting, focusing on the tools, applications, and materials that can help you elevate your glass artistry to new heights.
Understanding Glass Painting Techniques
Before diving into specific techniques, it's important to familiarize yourself with the types of glass paint available. The various paints can produce different effects on your artwork:
| Type of Paint | Description | Best Use |
|---|---|---|
| Enamel Paints | Opaque and durable paint perfect for vibrant pieces. | Opaque designs and decorative art. |
| Glass Stains | Translucent paints that allow light to filter through. | For creating stained glass effects. |
| Pebeo Vitrea | A brand known for its high-quality glass paints. | For fine details and intricate patterns. |
| Marker Pens | Easy-to-use pens for precise designs. | Ideal for quick sketches and details. |
Essential Tools for Glass Painting
Your toolset plays a crucial role in the success of your glass painting projects. Here’s a list of some essential tools you will need:
- Brushes: Various shapes and sizes, including fine detail brushes for intricate work.
- Sponge: Great for sponging effects and blending colors.
- Pallets: For mixing and holding paint.
- Masking Tape: Useful for creating clean lines around your design.
- Ruler and Pencil: For drawing initial guidelines.
Advanced Techniques to Master
Once you have your materials ready, it's time to explore some advanced techniques that will set your work apart:
1. Layering and Blending
Layering is vital in creating depth. Use transparent colors over opaque ones, and blend using a sponge to create gradients and shadows.
2. Sgraffito Technique
Using a pointed tool, scratch through your top layer to reveal the color beneath. This technique gives a unique texture and intricacy to the artwork.
3. Stamping and Stenciling
Create unique designs by using stamps or stencils. Glide a thin layer of paint over the stencil to create clear and precise patterns.
4. Dot Painting
Utilize the tip of a brush or stylus to create dot patterns. This technique adds flair and is especially eye-catching for detailed designs.
Preparing and Finishing Your Glass Artwork
Preparation is key in glass painting. Ensure your glass surface is clean and free of dust or oils before starting. After painting, you must cure your artwork for durability:
- Allow your painting to dry for at least 24 hours.
- Follow the manufacturer’s instructions for curing times and temperatures.
- Seal your artwork with a clear topcoat for added protection if necessary.
Safety Tips for Glass Painting
Safety should always be a priority. Here are some safety tips to keep in mind:
- Work in a well-ventilated area to avoid inhaling fumes.
- Use gloves to protect your hands from paints and chemicals.
- Wear safety goggles to shield your eyes from splatters.
Inspiration and Resources
For additional inspiration, check out our other blog posts on glass kilns and glass molds, which can provide insights into how to pair your painting skills with additional glass crafting techniques.
Conclusion
Advanced glass painting techniques can significantly enhance your artistic abilities and allow you to express your creativity. By mastering the tools, applications, and preparation methods mentioned in this article, you’ll be well on your way to creating unique glass art pieces that stand out. Remember to practice safe techniques and continually explore new ideas to elevate your work.

